


Skip to product information


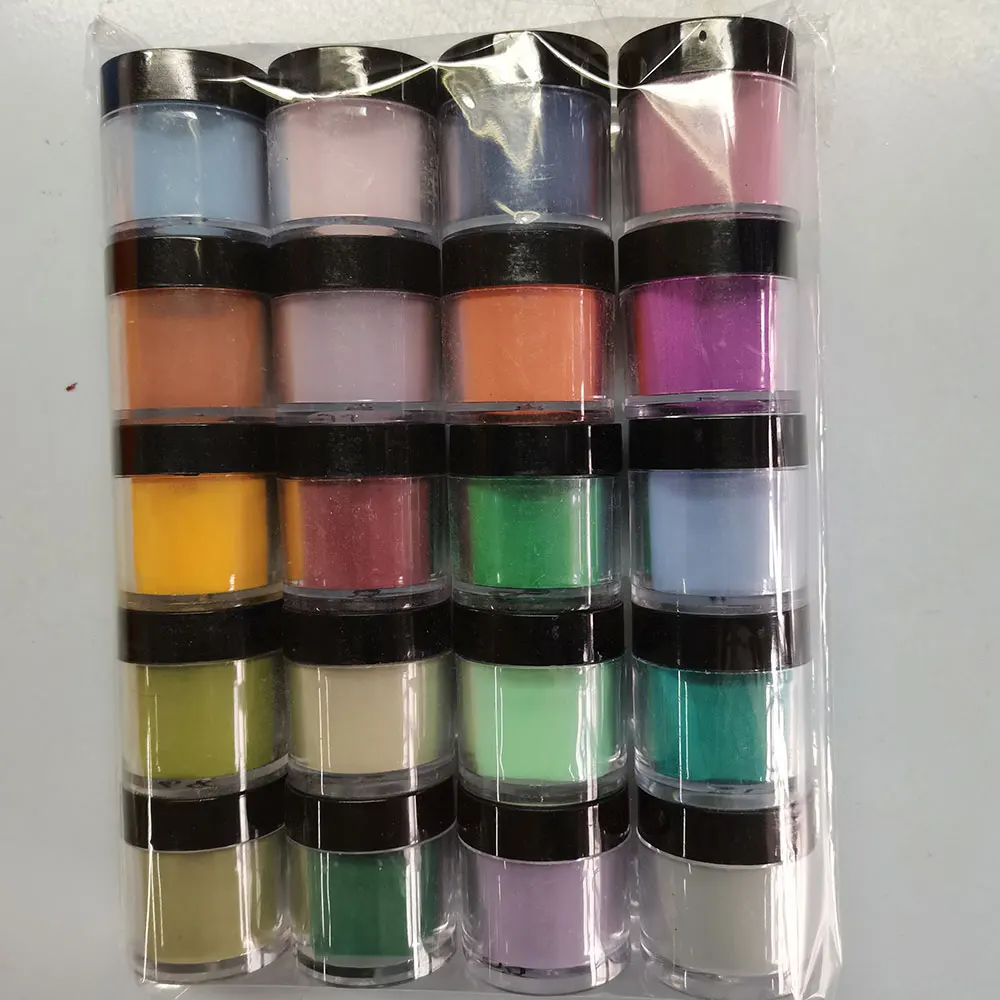
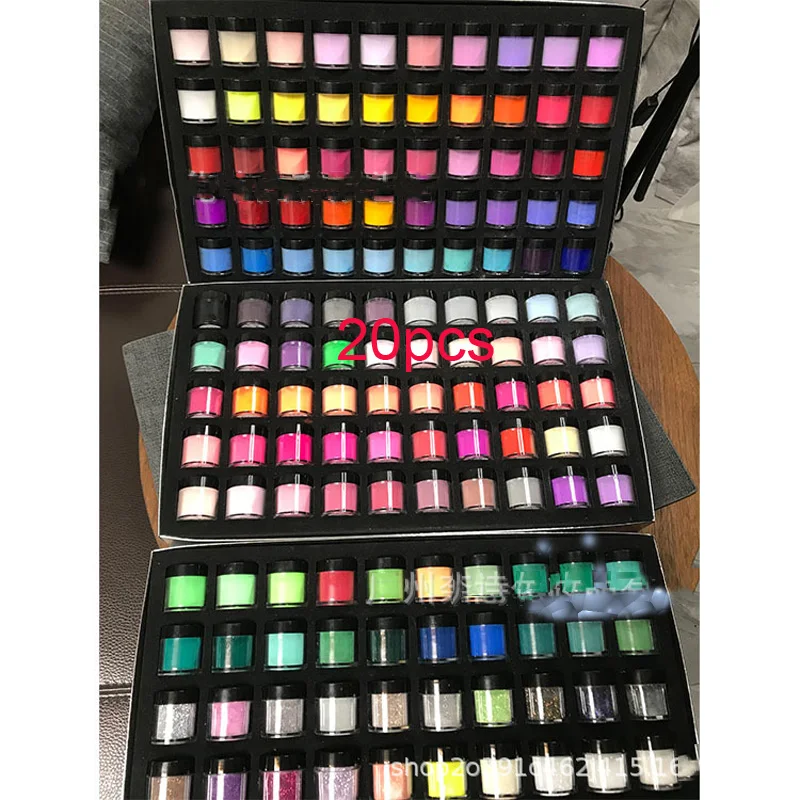
Acrylic Nail Dip Powder Set 10/20/40/50 Jars (10g Jar )
$111.99
Shipping calculated at checkout.
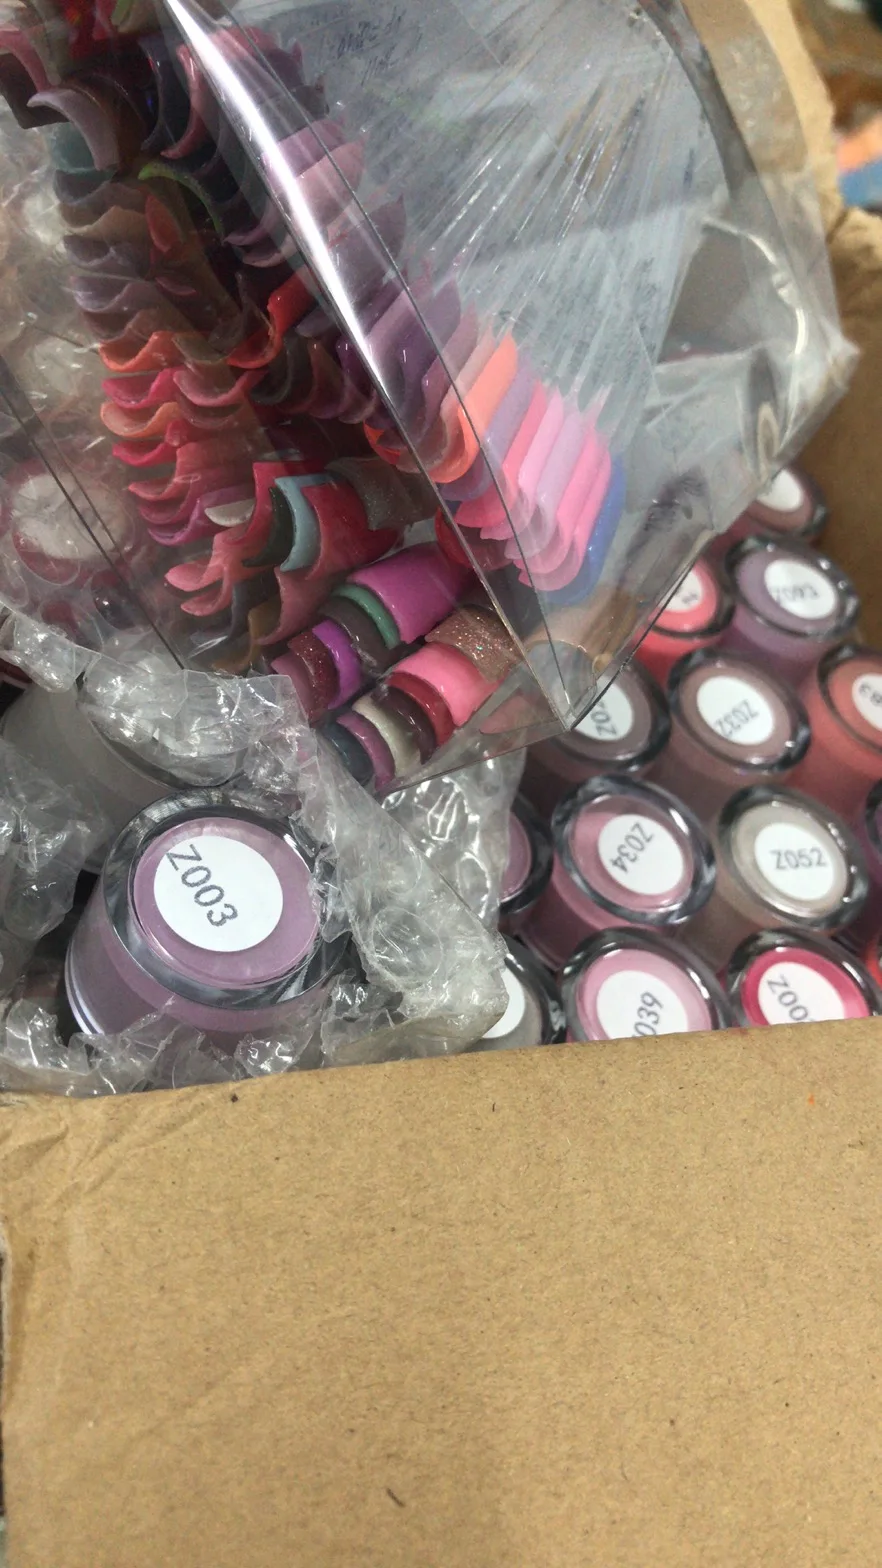
Package: 10jars, 20jars, 30jars, 40jars, 50jars, 60jars packed randomly in one plastic bag.
acrylic powder
|
|
|
|
|
|
|
|
|
|
|
|
|
|
|
|
|
|


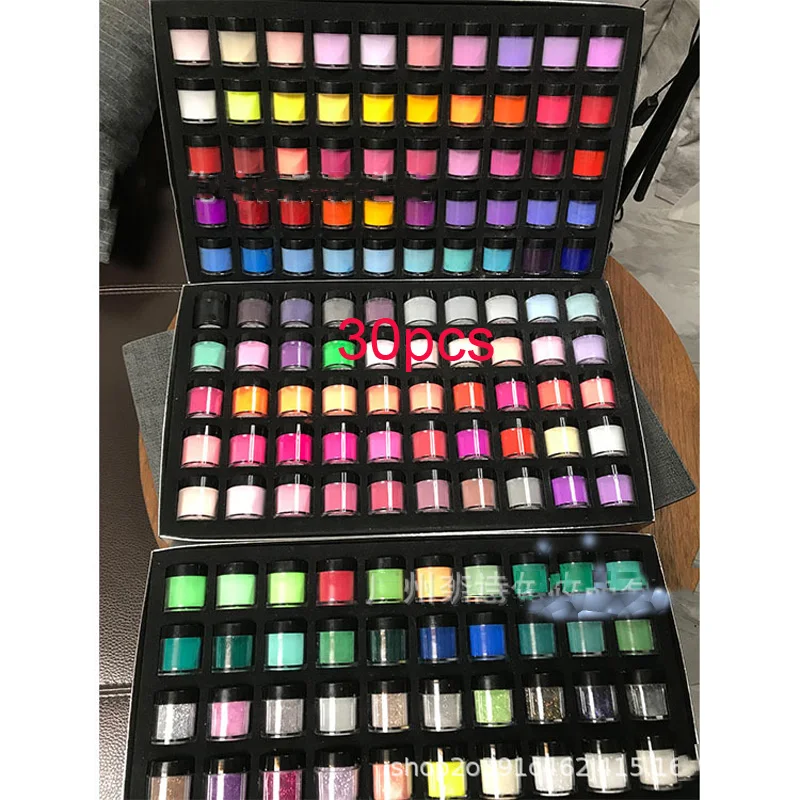
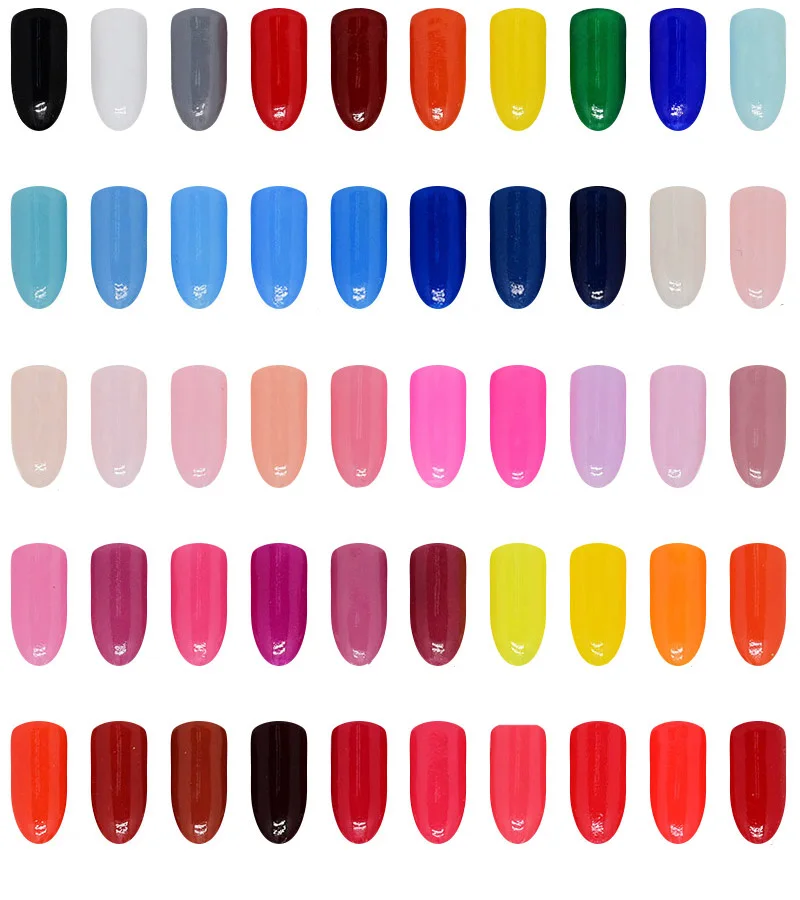
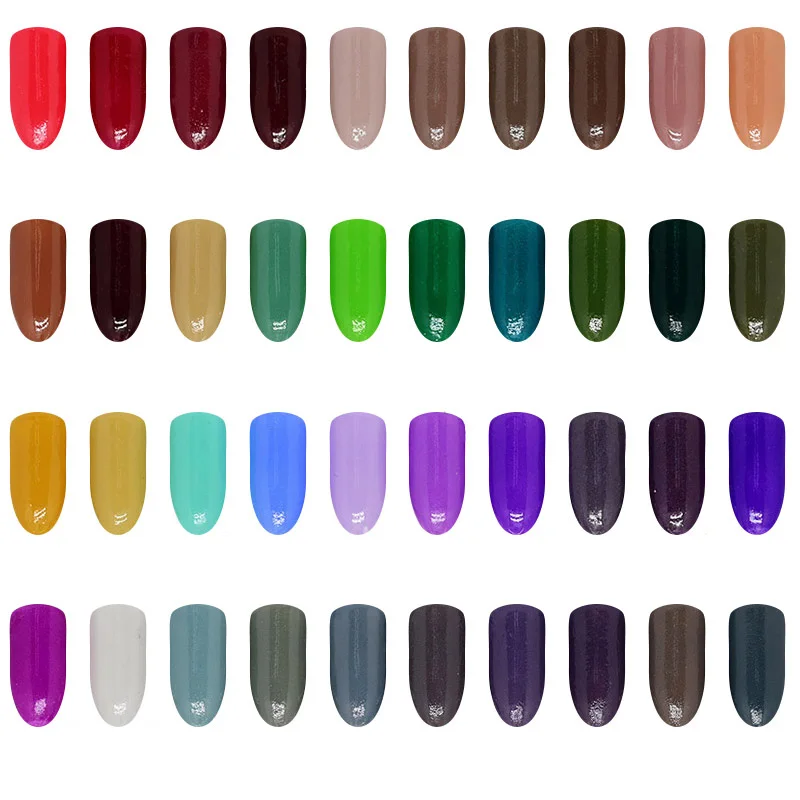
36 Colors Dip Powder Nail Kit Starter
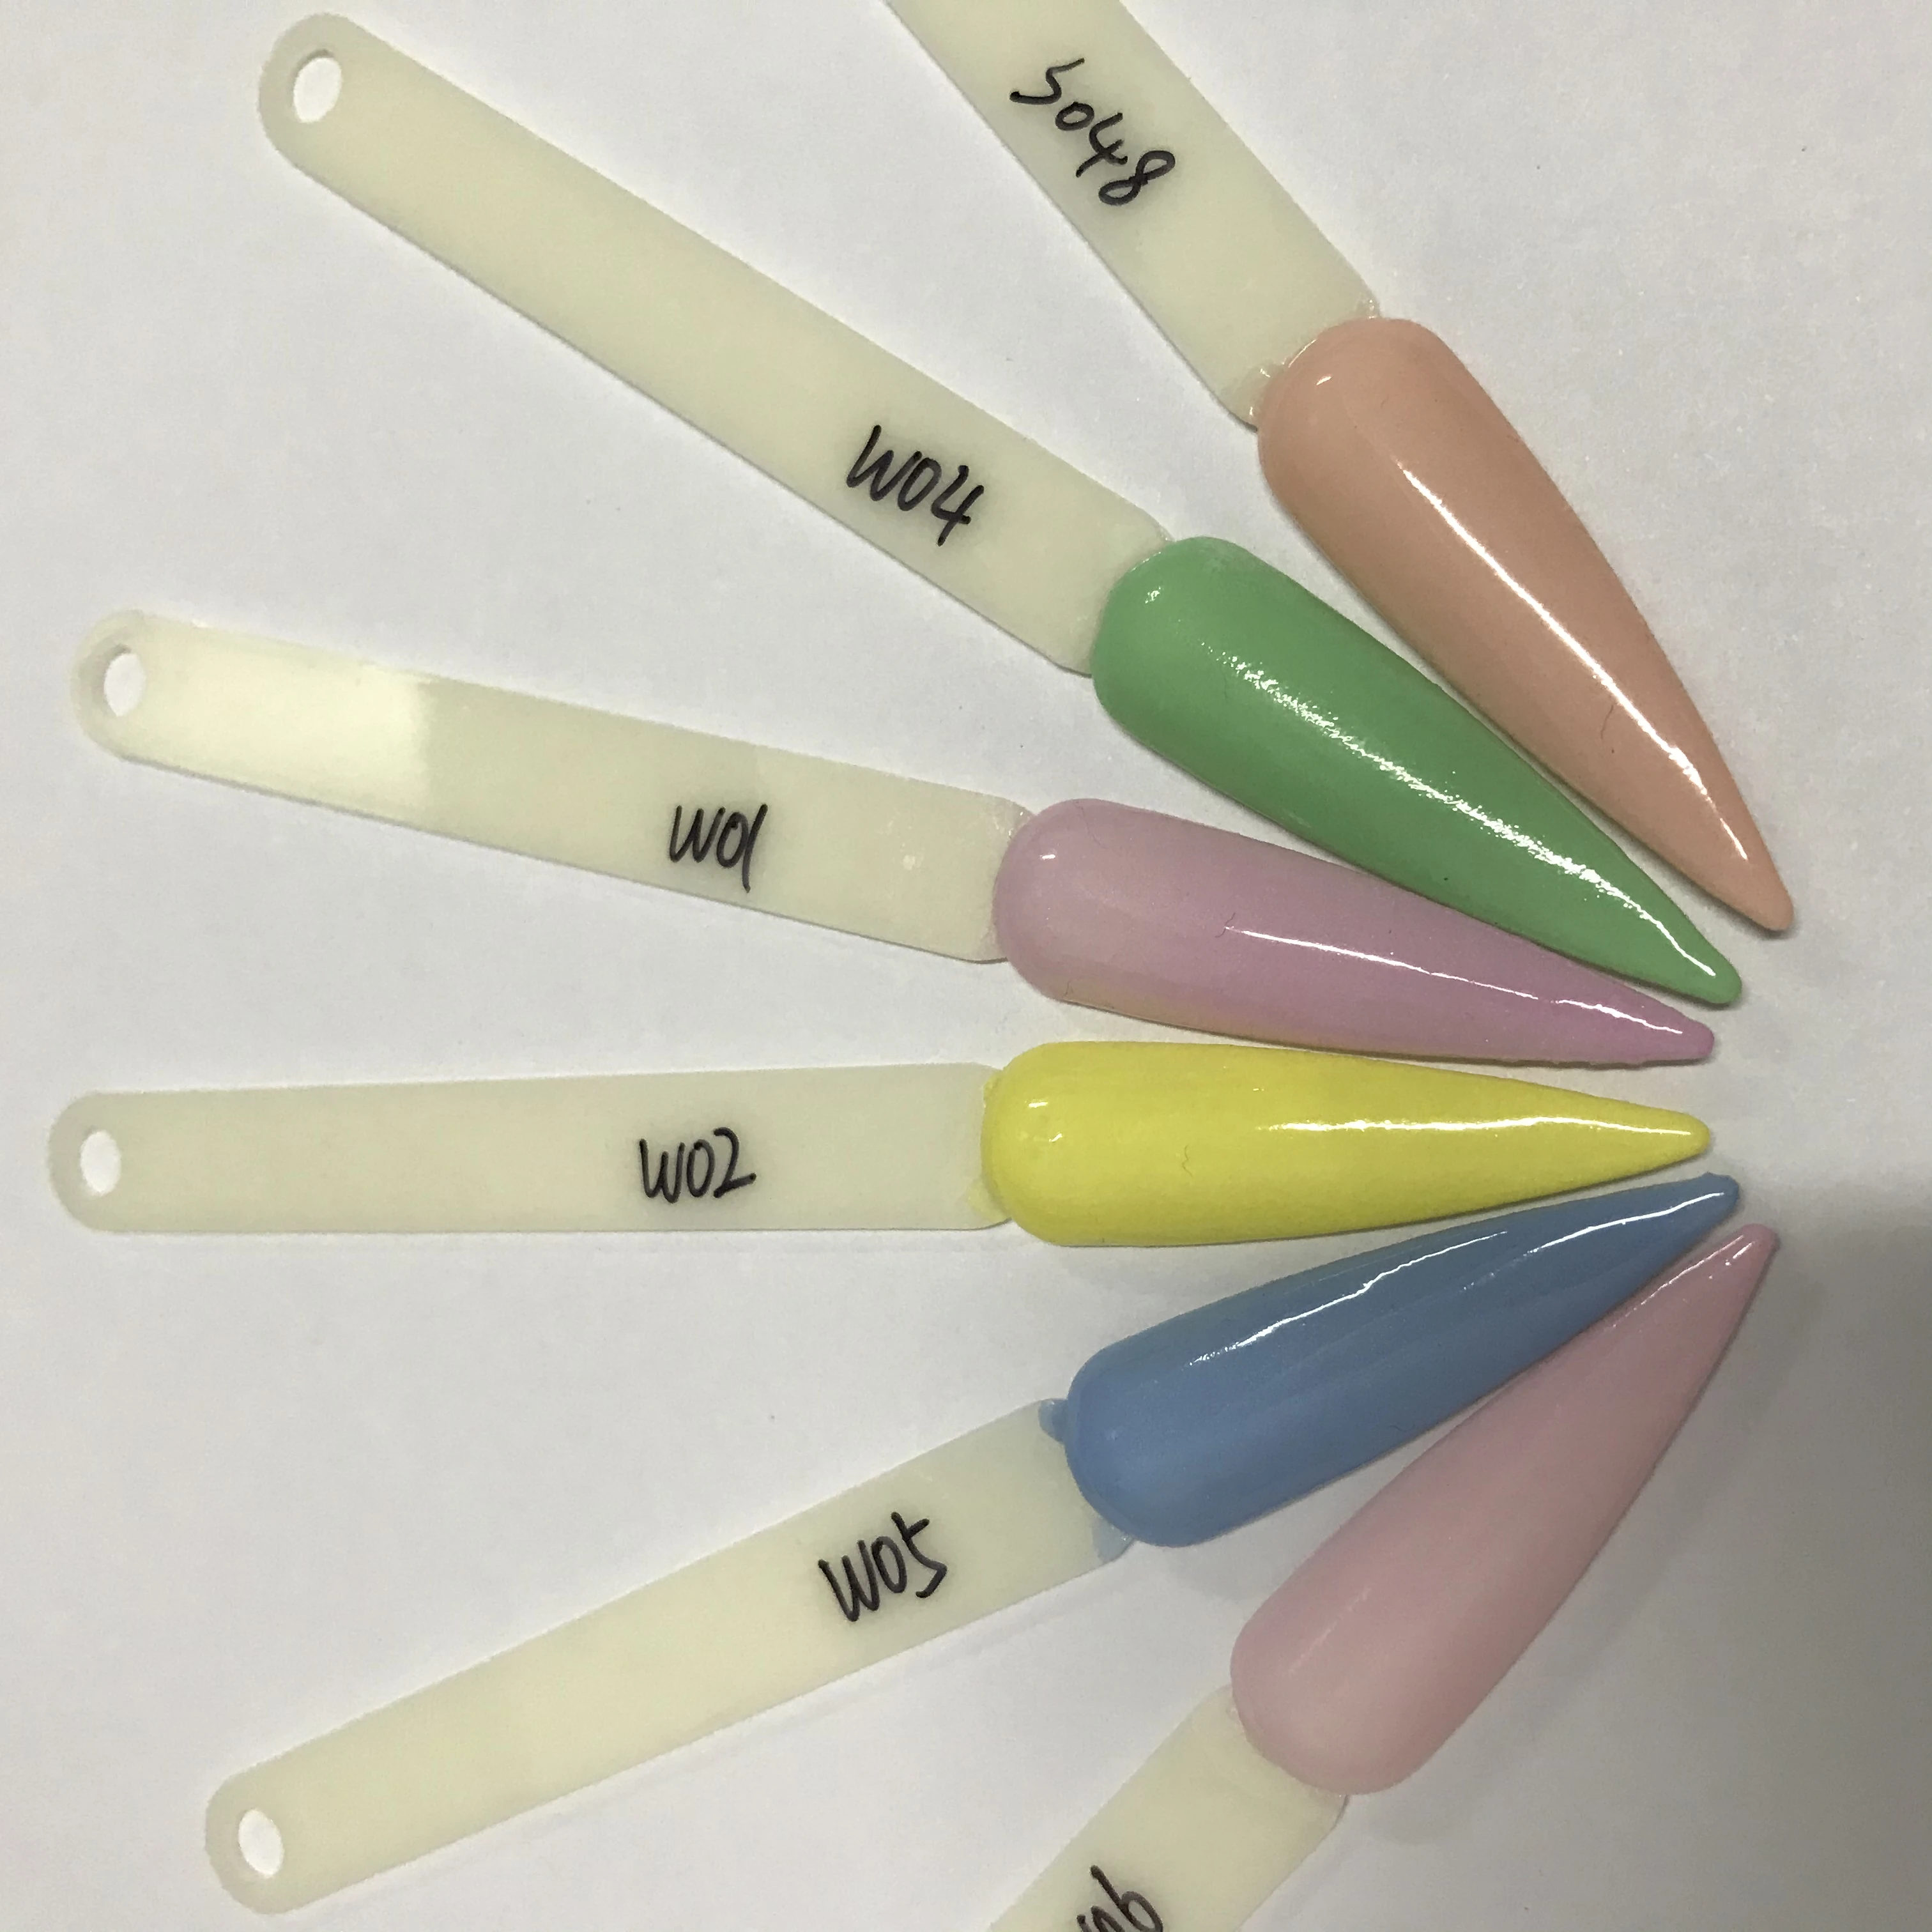
2 in 1 acrylic and dip powder collection which features six pastel colours ideal to sculpting 3d nail arts in three different ways: down 3D, flat 3D and high 3D. This pigment has a special blending formula which provides flawless consistency and superior adhesion while delivering exceptional strength and durability to nails enhancements.
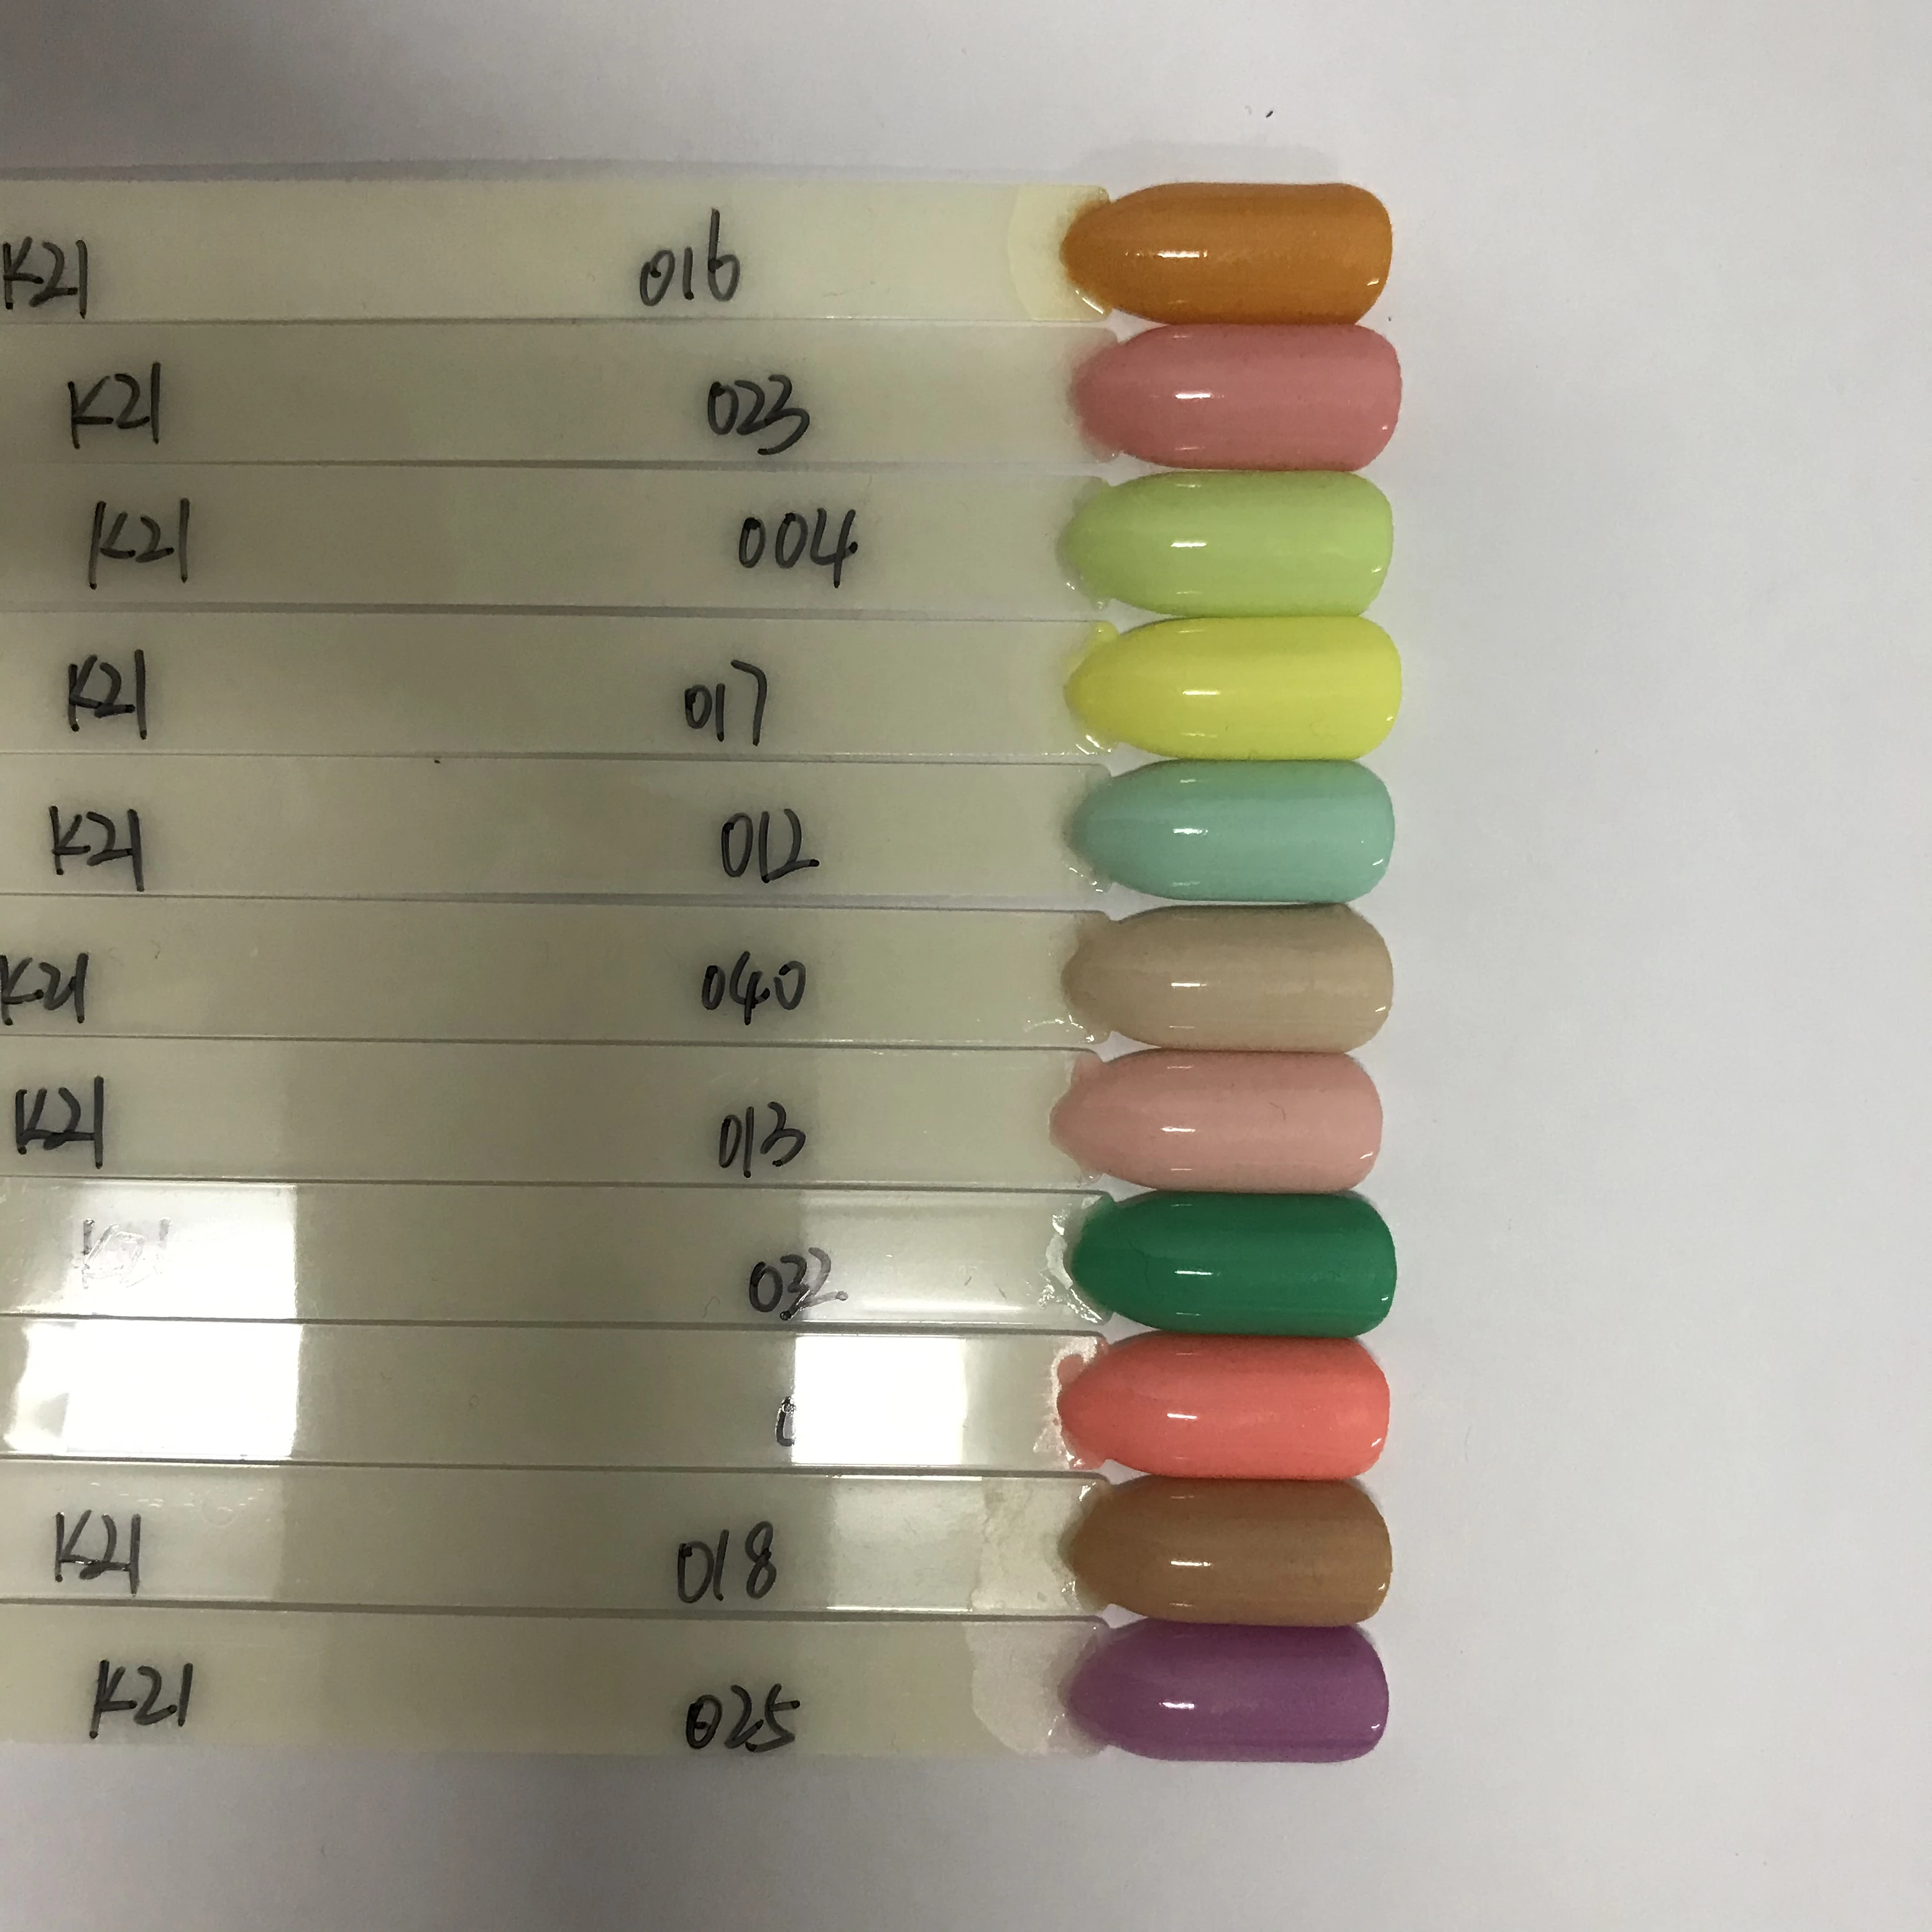
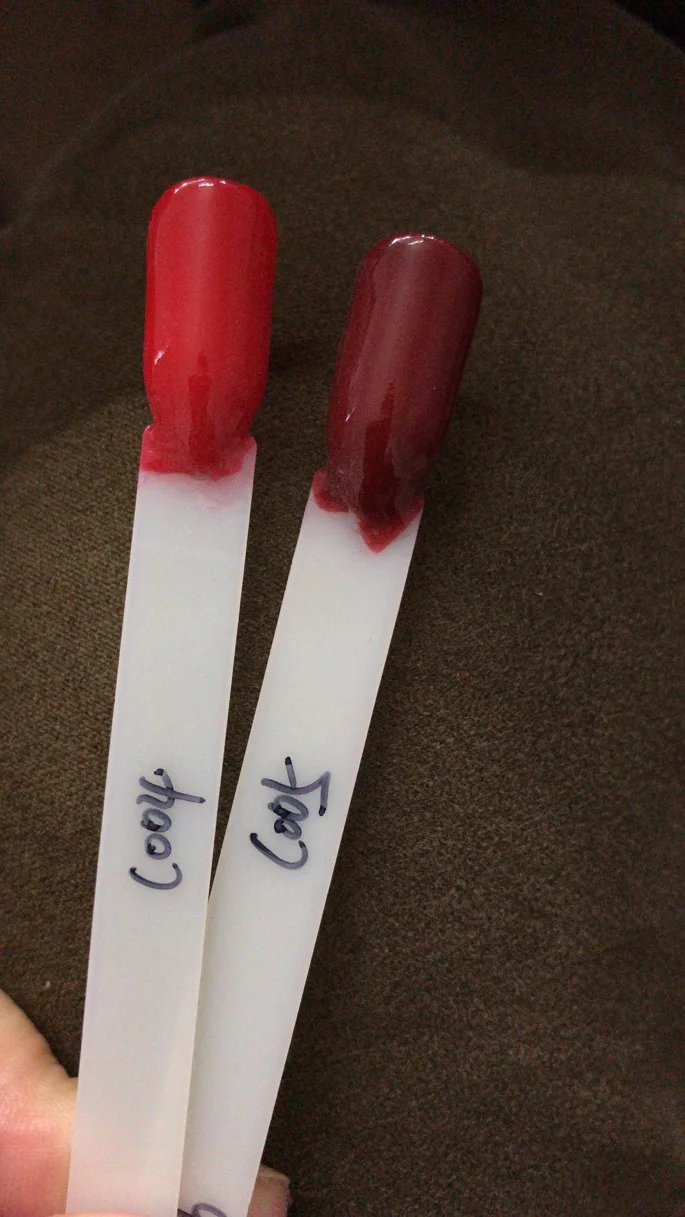
Colors may vary in light and/or depending on the color of monomer that is being used.
All sales are final.
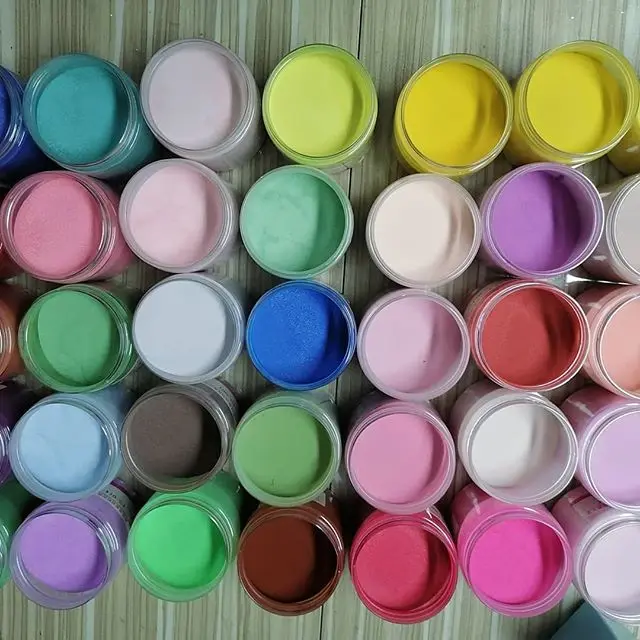
Our acrylic glitter powders have been hand mixed to perfection and tested repeatedly to bring you the best consistency possible.
colored acrylic powders work with any monomer liquids
Acrylic Powder Bundle random colours:
10Jars/lot (10 different colours )
20Jars/lot (20 different colours )
30Jars/lot (30 different colours )
40Jars/lot (40 different colours )
50Jars/lot (50 different colours )
60Jars/lot (60 different colours )


ACRYLIC POWDER
Size: 1 oz. | 28 g.
Shade: Orange, Cream
Snap your fingers and ‘Enchantress’ will have everyone falling under your spell with this warm, tangerine color on your nails.
Collection: Nake Color Acrylic Collection
Dare to get new acrylic collection, NAKED COLOR! This long-awaited collection consist of 45 new colors that range from delicate champagne, shimmery nudes to deep red matte with micro shimmer are just to name a few.
Each shade leaves a smooth, even finish and lasting color with our advanced acrylic formula that is blended with ultra fine pigments.
Never get bored again and have a world of exquisite possibilities right at your client’s fingertips!
Made in the USA
INSTRUCTION
How do I apply acrylic powder?
Before applying your acrylic powder, be sure to properly prep the nail bed by removing any polish and wiping it with acetone.
At this point, you’ll decide whether or not you’ll be applying the acrylic powder directly to the natural nail or if you’ll be attaching a nail tip.
Next, you’ll buff away the shine on the nail plate and apply bond and primer to the entire nail bed to prevent lifting after application.
Once you have acrylic powder of choice, be sure to roll the jar to properly disperse the powder.
Next, dip your brush into the monomer. You’ll want to “burp” the brush and wipe off any excess so that all the liquid will sit at the end of the brush. Now, gently lay the brush tip into the surface of the powder and gather enough powder to apply to the entire nail for a single bead application.
Once on the brush, allow the bead to look completely glossy before you begin placing it on the nail. When working with bead start a hairline away from the cuticle and move toward the free edge of the nail. When applying the acrylic, spread and tap it into the nail using the body of the brush and you can dip into monomer, if needed, during application to increase pliability. Be sure to tap lightly to allow for a smooth and flush application, this will help cut down on your filing time as well.
Allow the acrylic to dry completely, you can tell this by tapping the end of your brush on the nail until you hear a slight clicking sound.
Once dry, hand file the side walls and then go in with an e-file or buffer to smooth out the top of the nail. Once you are finished filing, simply apply a polish top coat over your color acrylic.
Can you form with acrylic? If so, how?
Yes, you can definitely form a nail using acrylic powder. This is a great way to apply acrylic on short, bitten nails or you can use it when doing intricate designs using your acrylic powders to create a glass effect on the bottom of the nail.
To begin, properly prep the nail plate to prevent lifting. Using a fine-grit sanding band on your e-file, barely kiss the nail plate to remove the shine.
Apply bond, let dry, and then apply primer, both will go directly on the nail plate.
Next, you will begin applying the form, line up the middle of the form and slowly rock it backwards to slide just underneath the free edge of the natural nail. Pinch the sides and bottom of the form to secure it in place. Depending on the shape of the nail, you will either leave the form open or pinch the tip of it shut.
Now the acrylic application begins! Take your acrylic color of choice and roll the jar to properly disperse the powder. Dip your brush in the monomer and remove the excess liquid before picking up a small bead of acrylic to apply to the point where the free edge of the nail and the form, meet.
Now, begin building the free edge of the nail by picking up a bigger bead and using the body of the brush to manipulate the powder, as needed.
Once the free edge is formed, pick up another, slightly smaller, bead and apply it directly to the nail plate. Use the tip of your brush to push the product in near the cuticle and then use the body of the brush to work the product up the nail and toward the free edge. You’ll want to leave the apex of the nail slightly thicker, this is where you’ll want some extra strength because it is the stress point of the nail.
Now, you’ll begin forming the c-curve while the acrylic is still, slightly malleable. Pinch the sides of the formed section of the nail to create the curve. You can do so by using your fingers or a pinching tool, be sure not to pinch near the actual nail plate.
Allow the acrylic to dry completely, you can check this by tapping the end of your brush on the nail until you hear a slight clicking sound.
Once dry, remove the form by pinching and pulling it out from beneath the nail.
Lastly, file and shape the side walls and clean up the cuticle with an e-file before applying your favorite top coat.
How do I remove my acrylic?
Removing acrylic powder can be done a number of ways, some easier than others. Two of the most common ways to remove acrylic are by e-filing the color down to the acrylic base so you don’t have to rebuild the entire nail or soaking them off with warm acetone. You can warm the acetone by running the bottle under hot water and it will soak through the hardened acrylic powder much easier. Do not microwave the acetone or put it anywhere near a direct heat source because it is extremely flammable.
To begin, clip the tips from your acrylic nails down to a short length.
Next, file away the top coat on your acrylic. For this you can either use an e-file or a buffer, whichever you prefer.
Now, soak a cotton ball in the warm acetone and apply it directly to the top of your nail, covering what’s left of the acrylic, and wrap the individual finger in foil. You will repeat this step on all of your nails and let them soak for 20-30 minutes.
Upon removing the foil, wipe the nail with the soaked cotton ball and all of the acrylic should come off with it! If you see any remnants of the acrylic left on the nail you can simply buff them away before you begin filing and shaping the natural nail. Now that you’re acrylic is completely removed you have a fresh canvas for your next set of acrylics!
Please Note
The colors on the website were designed to come as close to the true color of the polish as possible. Because of monitor settings, we can’t guarantee an exact color match. These colors are made to be a representation of the true color.
CARE & MAINTENANCE
To maintain the beauty and integrity of your purchase, we recommend treating it with care. Simple maintenance practices, such as gentle washing and proper storage, can effectively preserve the longevity of your favorites. We encourage you to refer to the care instructions included with each item, designed to help you keep your purchase in top condition.
SHIPPING & RETURNS
We strive to process and ship all orders in a timely manner, working diligently to ensure that your items are on their way to you as soon as possible. Need to return something? Just let us know.
Embracing small joys
Each item is designed to blend harmoniously with your living space while adding a unique touch. We aspire to bring balance and enrichment to everyday life.